HelloSign is among the most popular and most useful e-signature platforms. With this service, users can easily sign any number of documents remotely and send the same documents to others for signing. This process has made it quite easy for businesses and individuals wherever they may to get contracts and other business signed either from the comfort of their offices or from any mobile device on the go.
But how to use HelloSign? This article provides a clear and concise assessment of how HelloSign works to give the average user a clear understanding of the e-signature platform and what it can do for them.
Part 1 How to Use HelloSign to Get Signatures
The best way to get the most out of any program not just an e-Signature platform like HelloSign is to quickly figure out how it works. The following simple step by step tutorial will show you how you can begin signing documents and getting signatures using HelloSign.
Step 1:
To begin, you will need to sign up for a HelloSign account if you don't already have one. Or alternatively you can authenticate it using your Google account. Once signed in, your first stop is your dashboard. Here, you will see three options under "Who Needs to Sign": "Just Me" "Me + Others" and "Just Others". Select the option that best describes what you need.
Step 2:
In the next section, you will need to upload the document or image that needs to be signed. You can get those from your computer or cloud storage options like Dropbox, Box, Evernote and SkyDrive.
Step 3:
To send the documents to other for signing. Enter their names and email addresses in the next section marked; "Who needs to Sign". If you selected "Just Me" in step one, this option will be unavailable to you.
Step 4:
Under "Where do they need to sign" header click on "Prepare Document for Signing" and a popup window will appear. Select a field from the options provided and drag the field to a location on the document. Add a document title and custom message before clicking "Request Signature".
Part 2 How to Sign Documents without Registering HelloSign
Follow these simple steps to sign a document that you receive through HelloSign.
Step 1:
As a HelloSign signer, you will receive an email requesting you to sign a document with HelloSign. Click on the "Get Started" box in the email you receive.
Step 2:
In the new window that appears, click "Get Started" and a green box will appear where you are required to place your signature.
Step 3:
Once you've placed your signature click "Continue". On the next window confirm that you have agreed to sign the document and the process is complete.
Part 3 How Can HelloSign Templates Help
HelloSign templates are very useful because they eliminate the need to edit and format the same document over and over again. Follow these simple steps to create and use HelloSign templates.
Step 1:
Go to the templates menu in your HelloSign account and select "Create a Template".
Step 2:
Upload the document you want to use as the basis for your template.
Step 3:
Assign roles for those who will be signing the documents. You can also assign document signing order.
Step 4:
Next, add signature fields, text box fields and other fields to prepare the document for signing.
Step 5:
Click "Continue" and then name and save the template and it is ready to be shared with your team. You can either click "Use Template" or "Share with Team".
Part 4 How to Check HelloSign Status with Slack
HelloSign has partnered with Slack to make it easier for users to check the status of the document to be signed via Slack. All it takes is the addition of a simple "Add to Slack" button to their accounts. The new feature allows for real time notifications of the status of the document being signed within the designated Slack channel and real-time reminders for unsigned documents.
To use this feature, you just need to add HelloSign to Slack and then connect the accounts. You can then choose to send notifications as a direct message or to Slackbot.
Part 5 Same Product as HelloSign

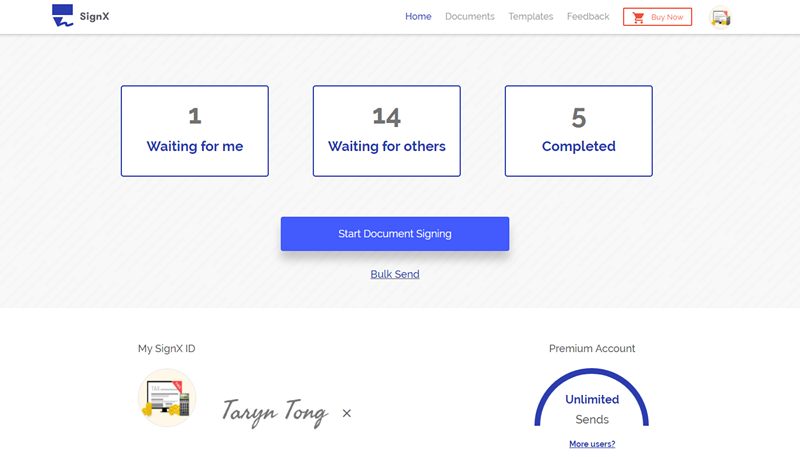
HelloSign offers numerous advantages to those who seek to sign documents and send documents for signing and so does SignX . This document e-signature platform allows users to upload documents in numerous different formats, sign them and then send them to other signers.
- All signatures are legally binding and the process is highly secure.
- Multiple users supported by one single admin.
- Check signing status and send reminders to signers.
- Bulk sends available for users to get signatures from different people.
- Useful templates to help improve productivity.


