An electronic signature is no doubt convenient but most people worry about signature security more than anything else. This is a fact that cannot be disputed and while there are many online services that can allow you to electronically sign your document, very few will guarantee signature security.
If this is your main issue, we are here to help. By the time you finish reading this article, you will not only have in your possession the best electronic signature tool but learn a way to make the process even more secure.
Part 1Best E Signature Tool to Help You Secure Sign PDFs

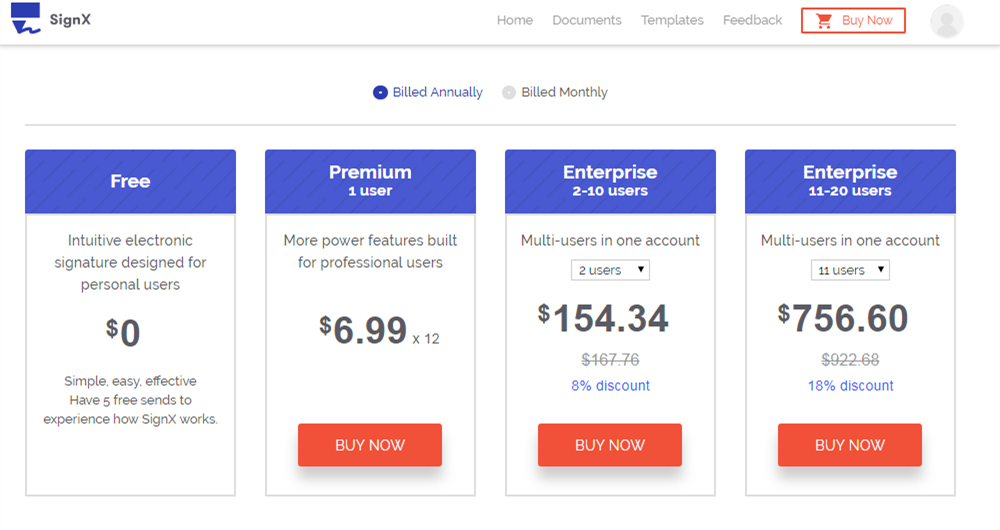
One of the best ways to electronically sign your documents is to use Wondershare SignX. The online solution not only makes the process easy but is also a great way to ensure that the signature applied is legally binding. The online solution comes with incredible unique features that make eSignatures easy. Some of the features include:
- All signatures applied using SignX are 100% legal and just as enforceable as hand-written signatures.
- The service also allows you to easily assign and monitor eSignatures from any device, adding an element of mobility to how you manage your documents.
- With SignX signature security is a guarantee. This is because the service utilizes the best and strongest SSL encryption protocols to keep the documents safe. A state of the art SSAE-16 and ISO 27001 certified data center ensures quick and robust disaster recovery plan.
- It also comes with a two-factor authentication access code not only ensures the ultimate security of the document but also enables secure interaction with clients on any device.
Part 2How to Electronically Sign PDF with Security Code
By now you are wondering how you can ensure the ultimate security of the signature you apply to your documents. Like we mentioned before, SignX makes this process both completely easy and highly secure. But just in case you are skeptical, here's how to assign a secure signature to your documents and manage the document while you're at it.
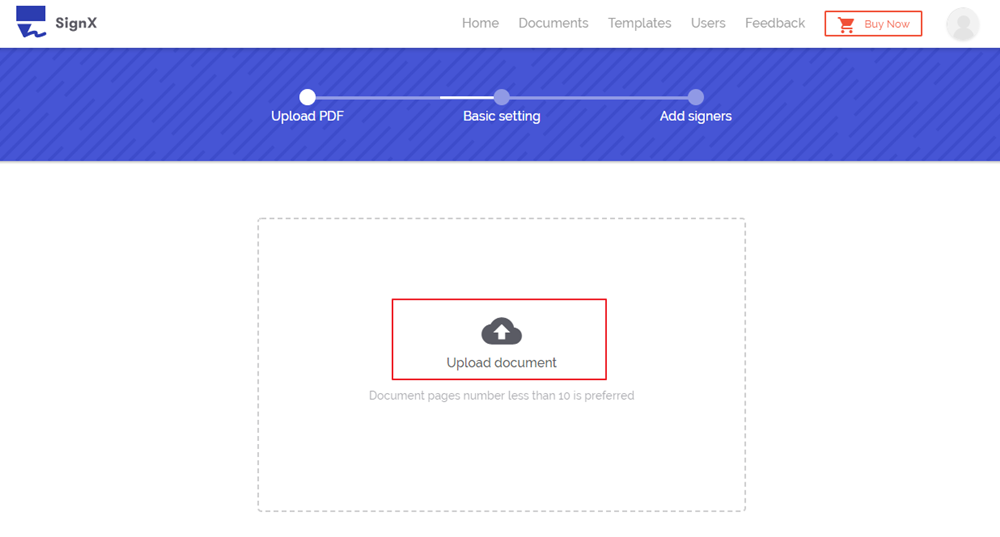
Step 1: Upload PDF
If you don't already have an account with SignX, create one. Once you are signed up, use the chosen email and password to sign in to your account.
Once signed in, you should see a big blue button marked "Send New Document". Click on it to upload the document you want to apply an eSignature to. Click on the icon with a plus-sign on it to browse your computer for the file you wish to upload.

Step 2: Set an Access Code
When the document has been uploaded, you should assign an "Access Code" to the document.(For premium plan or enterprise plan) Right below the document, you can simply enter the access code you wish to use. An access code ensures additional security because you can then send the code to other users of the document to restrict who can gain access to and sign the document. Enter the access code you wish to use and then click "Next" to continue.
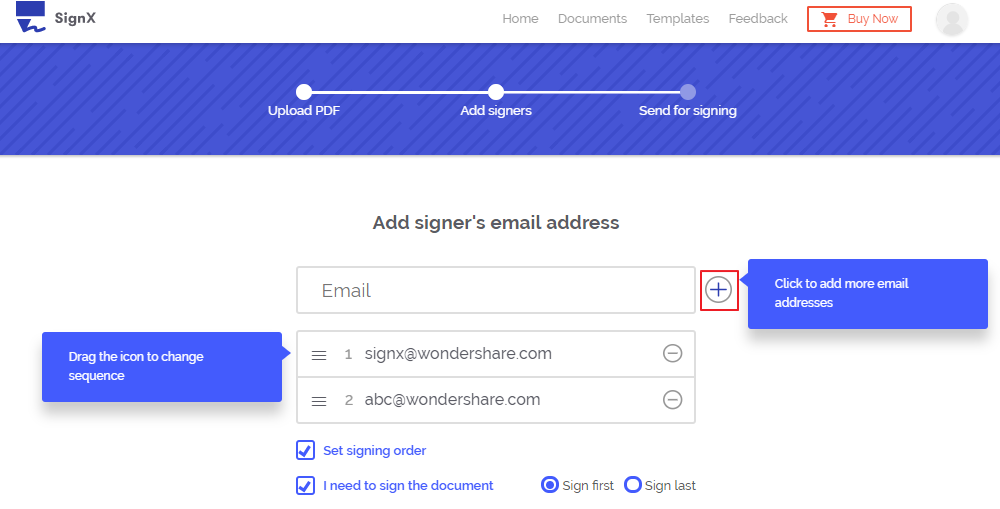
Step 3: Add Recipients of the Document and Set Signing Order
In the next window add an email address of the person you wish to send the document to. Click on the message icon with a plus sign on it if you wish to add more than one email address. You can also drag the"≡"to change sequence of signing if you choose"Set signing order".
If you wish to sign the document before sending it to the recipient or recipients, check the box marked "I need to sign the document" and then choose whether you want to "Sign first" to sign before sending the document or "Sign last" to sign after the recipient has signed the document.
At the "Message to signer", you can add a logo if you want by clicking on the box with a plus sign to upload the logo. Your recipients will see the logo in their email which could add credibility to the document. Here you can also edit the subject and content of the email the recipient will see. You can personalize the content of the email anyway you want. When you're ready, click "Next" to continue.
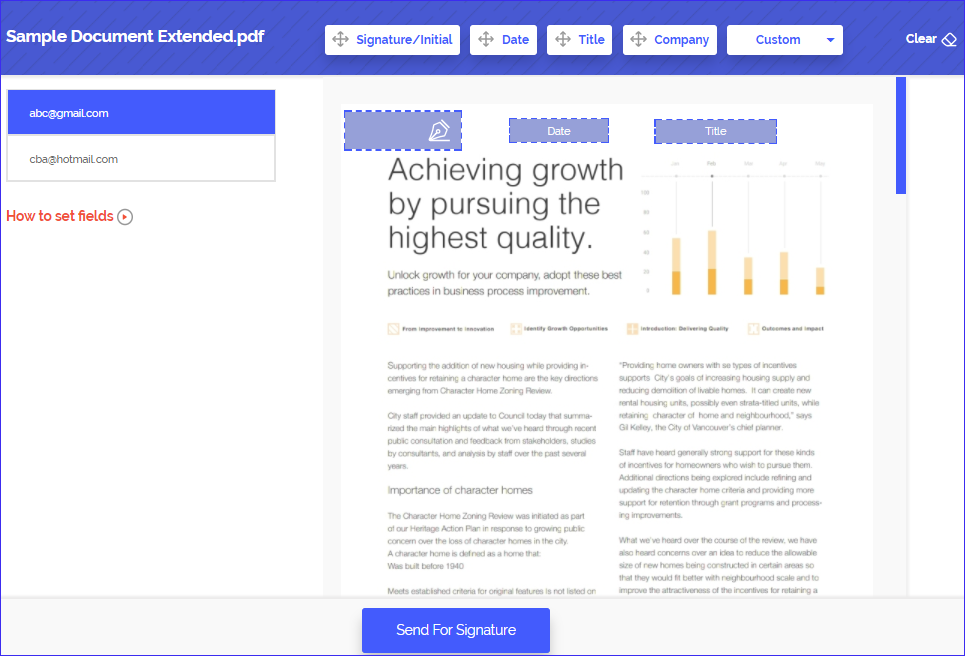
Step 4: Set Signature Location for Recipients
Before sending the document for signing, accept the terms and conditions of using SignX. Click on the sender's email (your email) to set a signature field for yourself. Then click on "Signature" to drag and drop your own signature or create a new one.
Once you have signed the document, click on the recipient's email and then click on "Signature" to drag and drop a signature field where you want the person to add their signature.
Be sure to send them the access code you created so that they can open the email link. Click "Send for Signature" to finish.
If you set "I need to sign the document" before, then you will go to the signing page, just accept the terms and conditions of using SignX, to sign your signature.
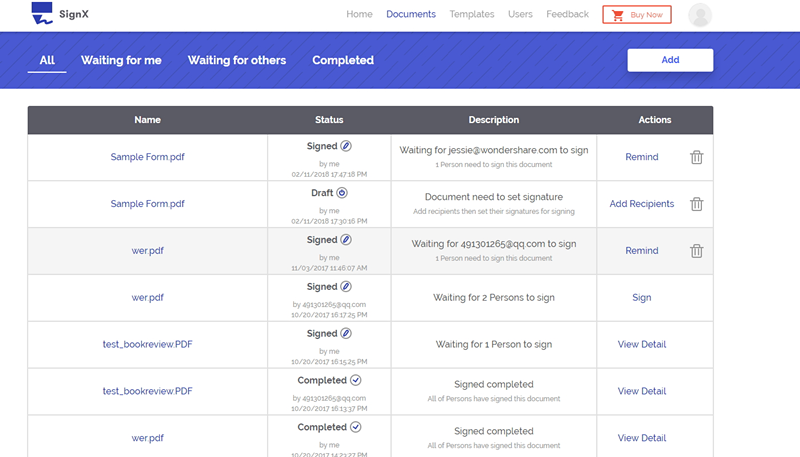
Step 5: Manage Signed Document
Once the recipients have signed the document, the status of the document in your dashboard will change to "Complete". You can click on "Download" to download and save the signed document and click on the "People" tab to view who has signed or the "Details" tab to get more information on the document.