Some people think it impossible to assign an electronic signature to a word document. The truth is, it is far from impossible and possibly one of the best ways to ensure the authenticity of various types of documents. Services such as DocuSign for Word have made it quite easy and convenient to sign word documents. In this article we are going to take a look at how you can easily sign Word document using DocuSign for Word and also provide you with a DocuSign for Word alternative that is bound to make signing Word Documents that much easier.
Part 1A Better Choice than DocuSign for Word

An easier more comprehensive way to sign Word documents that will work on both Windows and Mac is to use Wondershare SignX. This program comes with great features, all designed to make electronic signatures very easy. They include:
- The service is very easy to use. You can simply drag and drop the signature field to where you want the signer to sign and they will not be confused.
- You can manage signed and waiting to be signed documents from any device and SignX real time notifications will ensure that you are aware when the all the signers have signed the document.
- All signatures applied using this service are legally binding and just as enforceable as the hand written ones.
- An access code that you can assign to the document before you send for signing ensures maximum security measures are taken.
- A number of users are allowed to add in your SignXaccount at one time or you can remove them easily.
How to SignX to Sign Word documents with DocuSign for Word Alternative? The following is a simple tutorial to help you easily sign a Word document:
Step 1: Convert Word to PDF Format
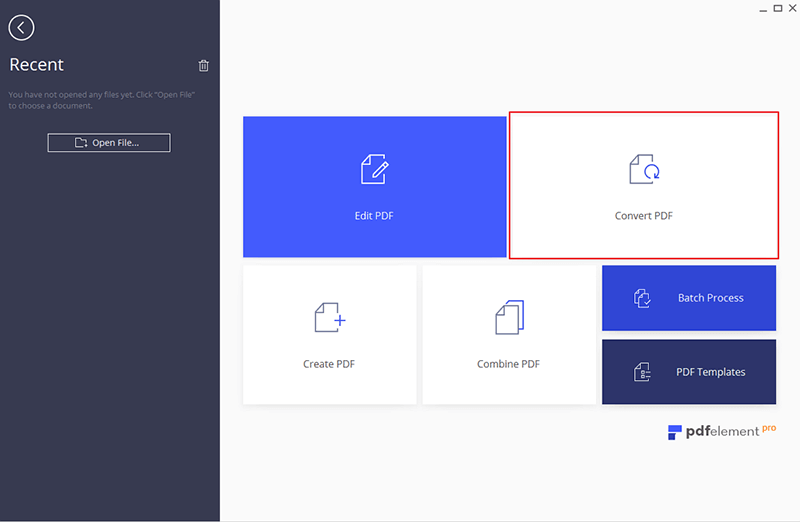
To begin, we need to convert the Word document to PDF format. For this we need Wondershare PDFelement. Simply download the program to your computer and then launch it. Click on "Create PDF" to browse for the Word Document. It will be instantly converted to PDF. (PDF format is much suitable for all businesses).
Step 2: Create an Electronic Signature
Now login to your SignX account or create an account if you don't have one and then log in. Under your profile picture click "Create Signature". You can create a signature either by drawing, typing or uploading.
Choose a method that suits you best and then click "Create" to save the signature. If at any point you make a mistake and wish to start over, click on the "Eraser" icon next to the color choices to redo.
Step 3: Upload PDF and Sign
Now click on "Send New Document" and then click on the plus sign to upload the Word Document we converted. Click "Next" and then add the email addresses of the recipients.
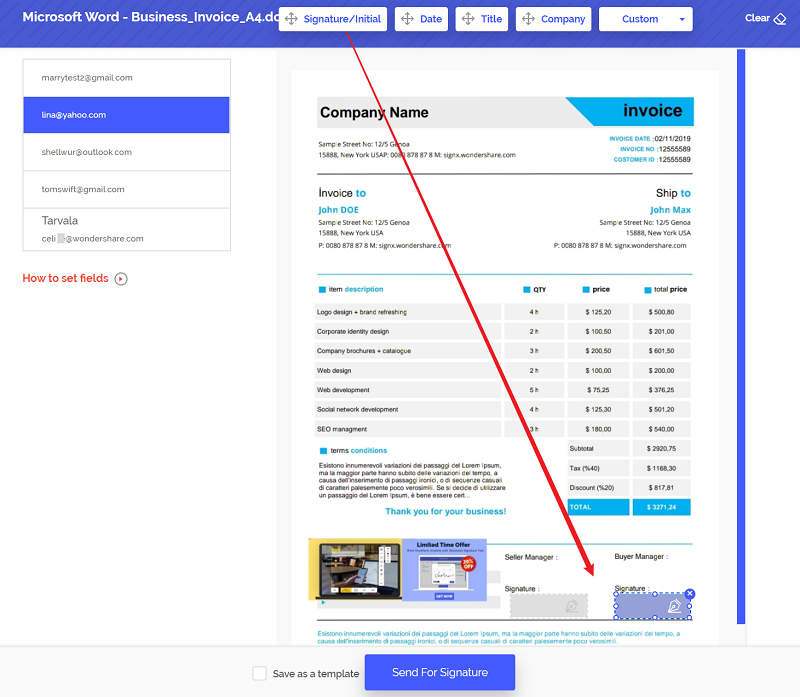
Click on the "Signature" tab to drag and drop the signature field where you want the document signed. Sign it and click "Send for Signature" for the other signers to do the same.
Part 2An Introduction and Tutorial to DocuSign for Word

DocuSign for Word allows users to sign and send for signing documents created or edited in Word 2013. If you have a DocuSign account, you can log in to your account within the Word app or create one if you don't have it. DocuSign for Word supports Word 2013 and Word 2016 for Windows users only and Word Online and Word for iPad. It also supports editing and signing in several languages including Chinese, Dutch, English, French, German, Italian, Japanese, Korean and many more.
How to use DocuSign for Word? Follow these very simple steps to use DocuSign for Word to send a document for signing.
- Step 1: Once you have finished editing the Word document you wish to send for signing. Log in to your DocuSign account. You can do that using your Office 365 credentials, your Microsoft credentials or your existing DocuSign account credentials if you have an account. If you don't, take a few minutes to create one.
- Step 2: You will be prompted to choose who is signing. Select "Only Others" or the "Me & Others" option.
- Step 3: the next step is to specify the signers. Enter their name and email address and then indicate where they should sign and then click "Add Signer". If you need to sign the document, click "Add Me" and then click "Continue".
- Step 4: Enter the email message the recipients will receive and click "Continue".
While DocuSign for Word works very well, there are several shortcomings. They include:
- It may not be easy for the signer to find where they are supposed to sign especially if they have never used DocuSign for Word before
- It is not available for Mac users
- It may crash sometimes
- The price is much higher than DocuSign alternatives.
Tips on using DocuSign for Word: You can set up an account from within the Word App and users who join DocuSign using their Office 365 credentials or Microsoft credentials get an unlimited number of sign and returns and up to 10 free DocuSign document sends.


