Do you want to apply a legally binding, secure electronic signature to a document but don’t have a clue as to how you can do it? To begin with, you need an eSignature service such as DocuSign and then the necessary know how to use DocuSign to assign the electronic signature. If all of that sounds rather confusing to you, worry not! We are here to help you learn how to use DocuSign to apply an electronic signature to a document and even give you a more effective alternative to the popular DocuSign. Let’s begin with how does DocuSign work.
Part 1How Does DocuSign Work

The following is a simple step-by step tutorial to help you sign your document using DocuSign.
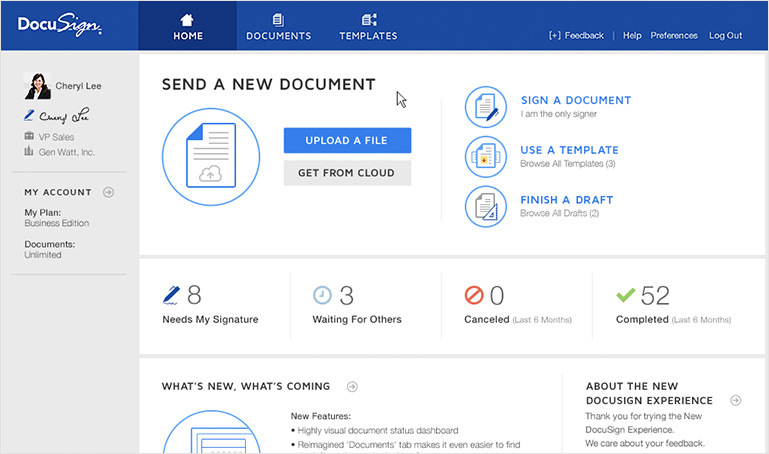
- Step 1: Create an account on DocuSign if you don’t already have one and then log in to your DocuSign account.
- Step 2: Upload the document that needs to be signed and the tag the locations on the document that the recipients are required to enter their signatures or initials
- Step 3: Add the email addresses of the signers and then click “Send your Document” to send the document for signing.
- You will receive a notification once the document has been signed by all the signers have signed the document.
Shortcomings of using DocuSign
- It is not easy to place the signature tags exactly where you want the signer to sign or enter their initials
- It is therefore not very easy for the recipient to know where they need to place their signatures. This is the primary reason why there are so many questions as from signers on to use DocuSign to sign documents.
Part 2How to Use DocuSign Alternative

Fortunately for you an easier and better alternative to DocuSign exists. This alternative known as Wondershare SignX is easy to use for both the sender of the document to be signed and the recipients or the signers of the document. It is primarily designed with this ease of use in mind, ensuring that your documents can be signed in the shortest time possible and that the signatures or initials are places exactly where you want them to appear.
The following are just some of the features that make SignX the best alternative if you find DocuSign a little bit difficult to use.
- Like we mentioned before SignX is very easy to use. Once you have uploaded the document you want to sign, you can simply enter the recipients email addresses, as many as you want, and then drag and drop the signature fields to where you want the signature to appear.
- When the recipient receives the document, all they have to do is place the signature in the designated location and you will be notified on this action thanks to SignX real time notifications.
- You can send the same document to multiple recipients at the same time
- The service also allows you to easily manage and monitor the signed documents from just about any device making the process that much easier and more efficient.
- All signatures applied to any document are legally binding and enforceable.
Step 1: Upload a PDF for Signing
Begin by creating an account with SignX if you don’t have one and then sign in to your account. Click on the "Send New Document" and then click on the plus-sign to browse for and upload the document you wish to send for signing.
Once the document has been uploaded, you can choose to assign an access code to it to ensure that only the people who are meant to sign the document are allowed to sign it. Right below the document, enter the access code you wish to use and then click “Apply”. Click “Next” to continue.
Step 2: Add Recipients
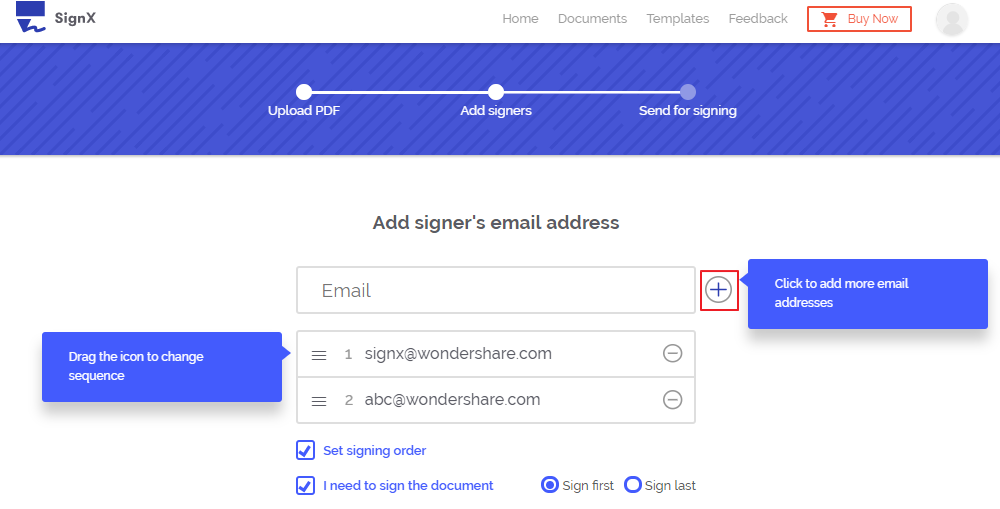
In the next window, enter the email addresses of the people you want to send the document to. To add more than one email address, click on the message icon with a plus sign on it.
You can choose to sign the document before sending it to the recipient or recipients. To do this check the box “I need to sign the Document” and then choose whether you want to “Sign first” or “Sign last”.
Step 3: Set Signature Location
Click "Next" to continue. You can add a logo if you want and personalize the message the signer will receive. Click on the recipients’ email and then click on "Signature" to drag and drop the signature field to where you want the signature to appear. Click "Send for Signature" to finish.
Step 4: Wait for the Document to be signed
If you used an access code, remember to send it to the recipients to ensure they are able to gain access to the document. Then they should enter the access code and open the email. Click “Sign the Document” to add signature.
Once the document has been signed, it will be marked "Complete" on your dashboard. Clicking on the document will allow you several options such as the ability to "Download" it. You can also click on "People" to see who has signed the document.


